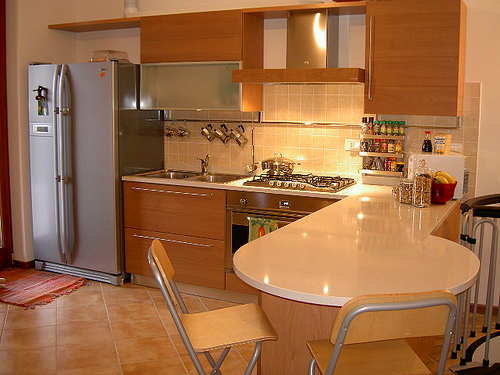
When you want to update your kitchen but don’t have the time or budget for a major overhaul, you can make a few quick changes that will make the space feel new to you again. Adding a fresh coat of paint, a throw rug or new curtains can change the look of your kitchen. And with a few tools, you can complete some simple projects that will revamp the most heavily-used room in your home. Replace the faucet A shiny new faucet can make your kitchen look fresh and modern. You’ll need the following tools for this project:
- Faucet
- Adjustable wrench
- Basin wrench
- Bucket
- Putty knife

Before purchasing your new faucet, make sure it aligns with current openings in the sink basin. Turn off the water supply valves under the sink, and place the bucket under the sink to catch any drips or leaks. Turn on the tap to make sure the main line is free of water before you remove the old faucet. Then use your basin wrench to disconnect the nuts that are holding the old faucet in place. Remove the faucet and scrape away any old putty that’s left on the sink top. Install the faucet, reconnect water lines and make sure the water lines aren’t leaking before you remove the bucket. Install a dimmer switch Installing a dimmer switch is an easy way to add a little ambience for cozy dinners, or to illuminate the kitchen after bedtime so late-night snack seekers don’t stub their toes. You’ll need the following tools:
- Dimmer switch
- A wire stripper
- Screwdriver
- Voltage detector
- Wire connectors
- Needle-nose pliers
Important:
Turn off the power to your home before you begin this project. Use a voltage detector to touch the screws in the light switch to make sure the power is off. You’ll also need to calculate the minimum electrical box size to make sure you’re not overloading the circuit, and test your ground wire before proceeding with installation. Use your voltage detector to make sure the box is grounded. If you’re installing a dimmer with screw terminals, use your wire strippers to remove about 3/4-inch of wire covering and then use your pliers to bend a loop in each, wrapping the loop clockwise around the screw terminals before pinching the loops to close them; tighten the screws afterward. Follow the manufacturer instructions to finish installing your new dimmer. Update cabinet hardware If you replace your cabinet hardware with hardware of the same size, you can reuse the existing screw holes. If not, you will need most — if not all — of the following supplies:
- Cabinet hardware
- Measuring tape
- Wood filler
- Fine-grit sandpaper
- Touch-up paint
- Paint brush
- Drill
Remove the old hardware. If you need to move the screw holes, fill the old ones with wood filler and allow it to dry overnight. Use fine-grit sandpaper to smooth the surface and then paint over it with touch-up paint. Next, drill pilot holes for the new screws, making sure to measure accurately so the handle or knob is centered and even with hardware on adjacent cabinets or drawers. Then attach the new hardware. In a single weekend, you can transform the look and feel of your kitchen with these easy upgrades!
Image credit

